
After adding a language, you can begin the AI translation process. The translations are generated automatically using AI; however, each translation must be reviewed by someone who speaks the language before it can be used on the platform. This review process is explained in the “Reviewing and Editing Language Translations“ article.
To Translate an Added Language:
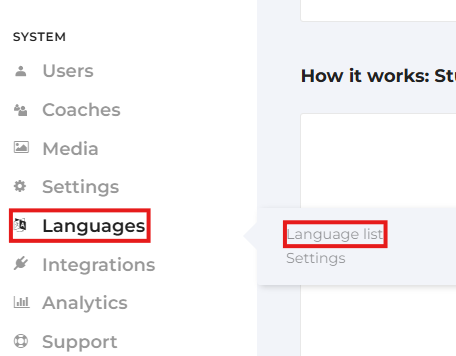
1. Navigate to the Superadmin Dashboard and select Languages list under System in the left sidebar.
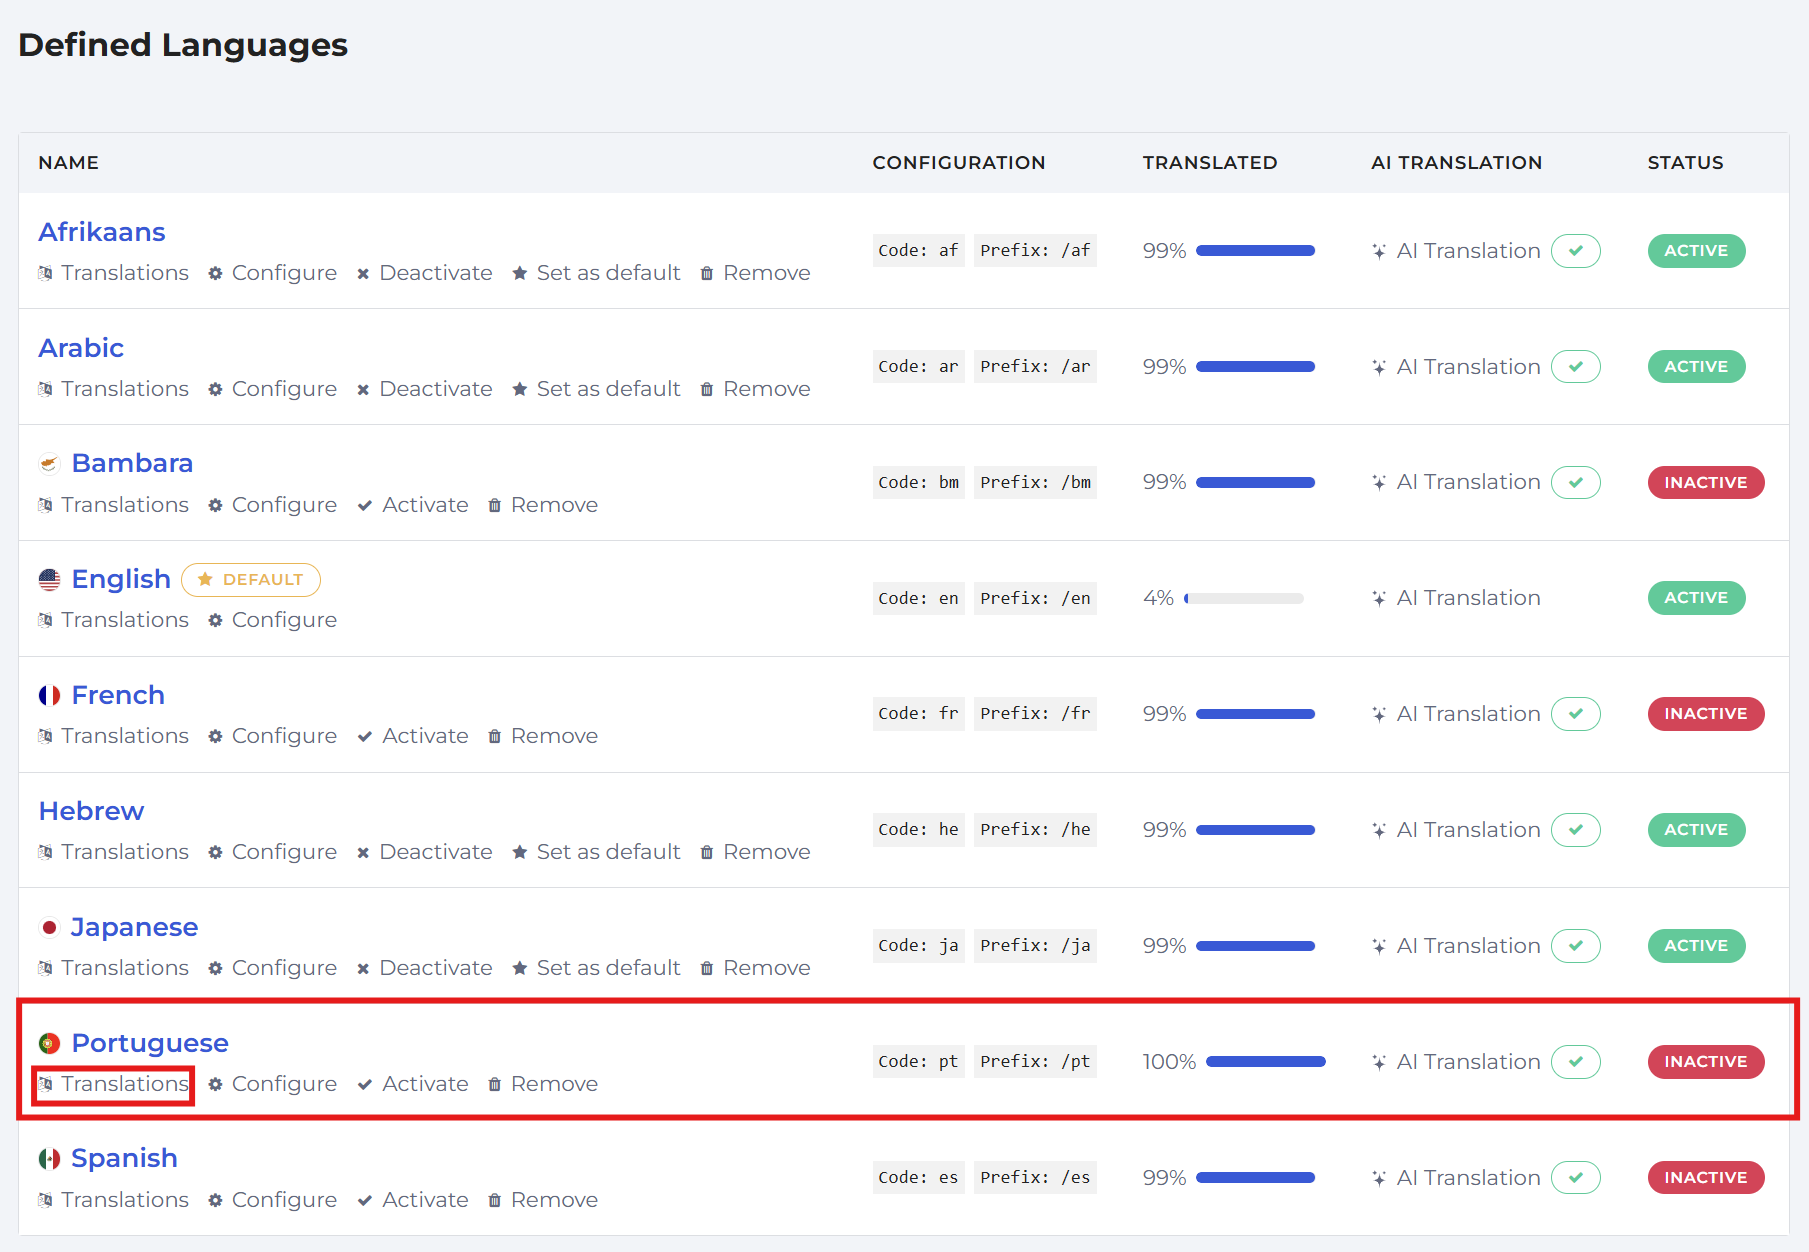
2. Find your newly added language and click the Translations option under the new language
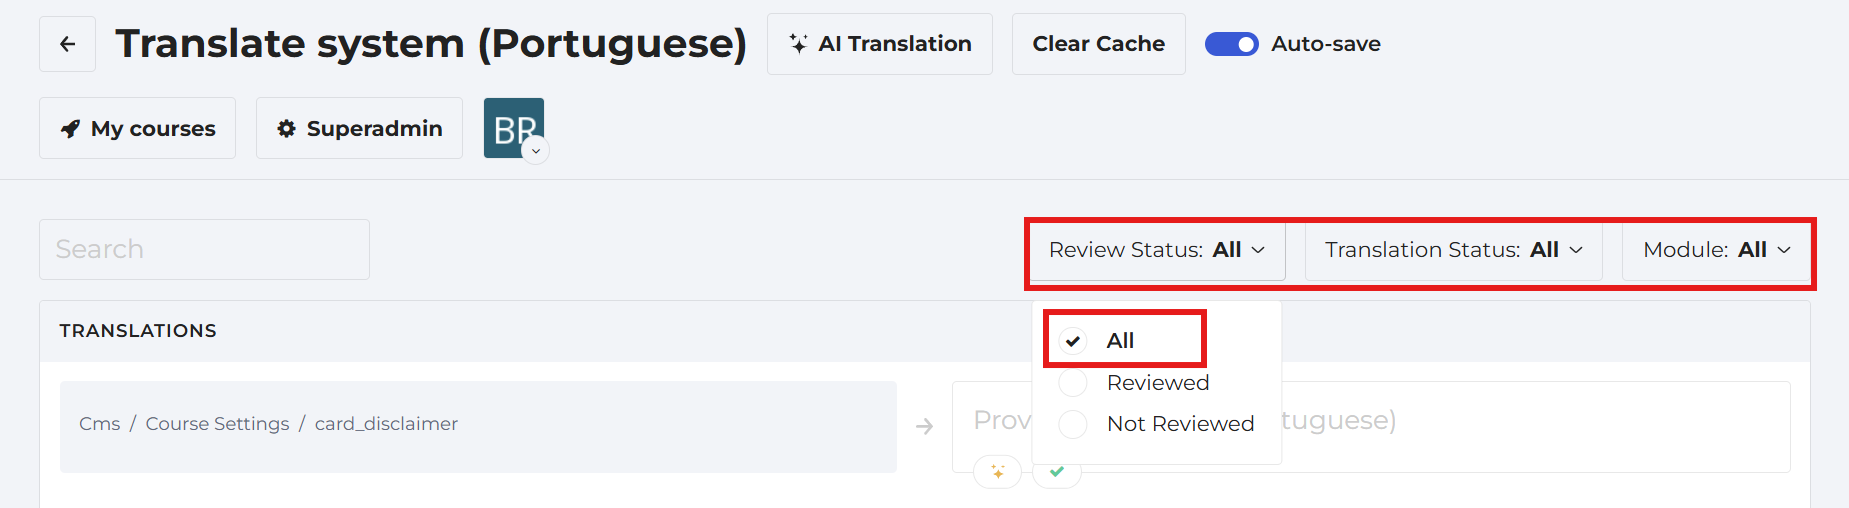
3. In the Translation Systems page, check the three drop down filters on the right-hand side of the page ensuring they have the All option turned on.
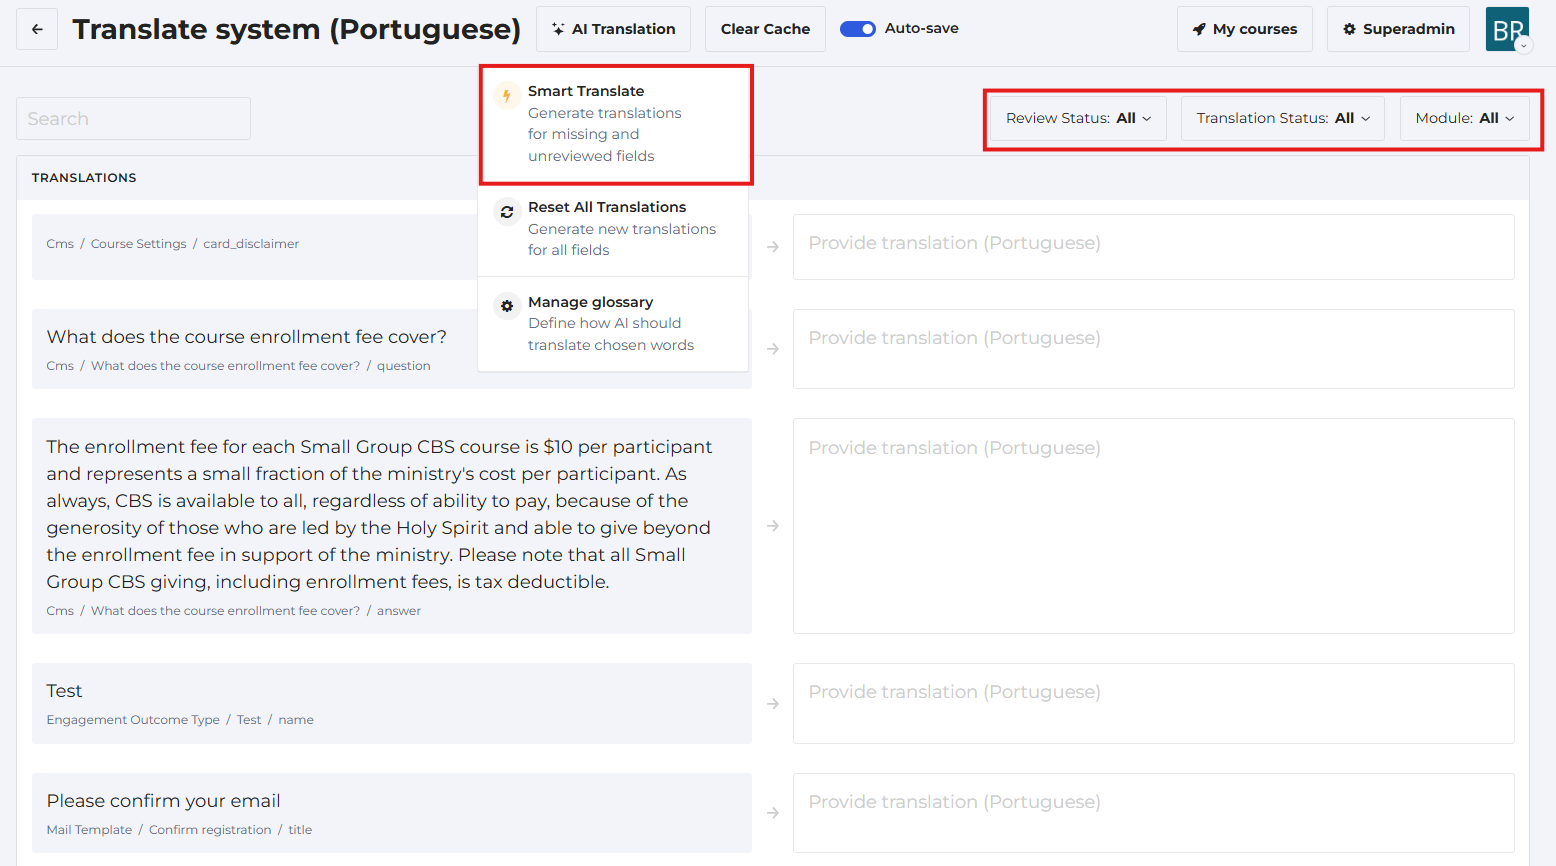
4. Click the AI Translation button in the top menu. A pop-up menu will appear with three translation options. Since this is the first time translating the language, click Smart Translation to generate the initial translations using AI.
5. Click the Confirm button in the pop-up box.
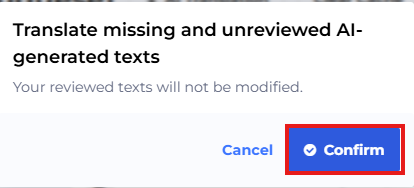
6.Go back to the Language list page where you will see a processing bubble appear in the language box. It will take 10 to 20 minutes to complete the translation.
Note: Once it is done processing, please do not activate the translation yet. It must be reviewed and edited by someone who speaks the language. You can find more information about this in the “Reviewing and Editing Language Translations” article.
To ensure any new or added information is automatically translated you will want to turn this option on in Settings.
To Update Language Settings:
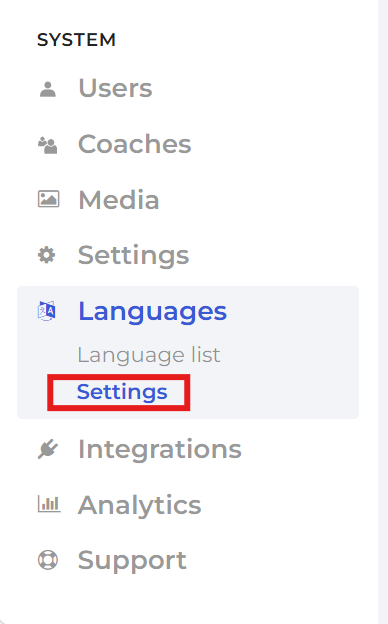
1. Click the language Settings ooption under Languages in the System category on the left-hand menu.
2. Turn on the Auto-translate new resources button. This is the only setting you will need on.
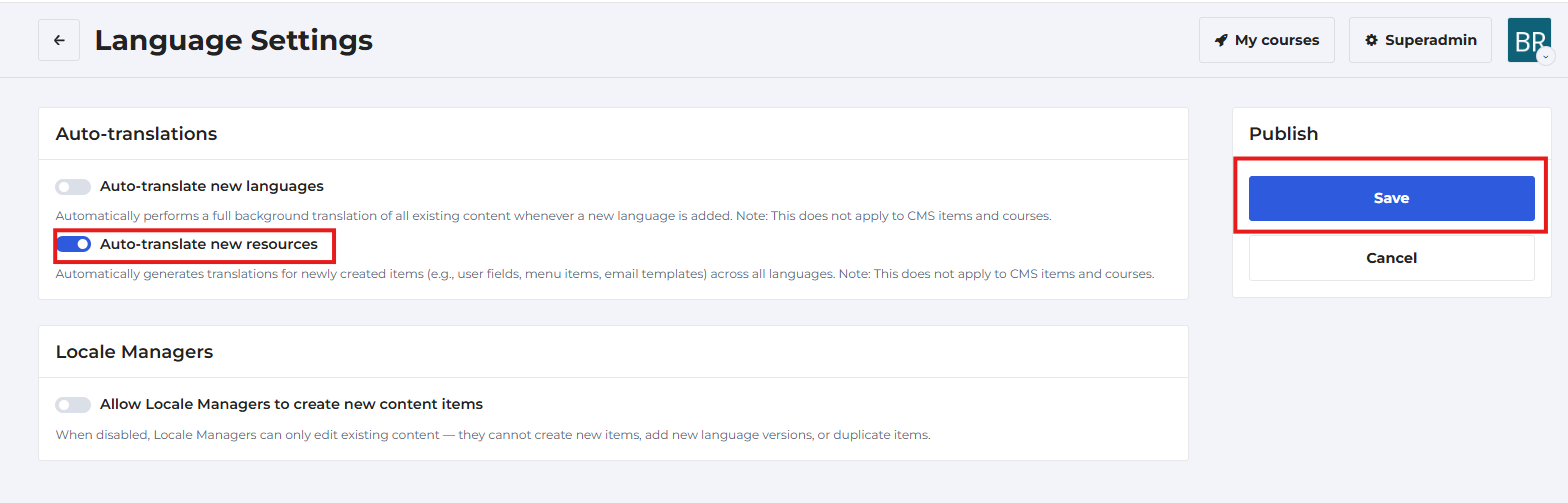
Note: Please make sure any new content is reviewed and edited by someone who speaks the language.