
Once you or your Locale Manager have reviewed and edited the AI-generated translations, the language is ready to become an available option for the users. Activating the language will add it to the language menu on the homepage.
To Activate a Translated Language:
1. Go to the Language list page and locate the language you would like to activate and click the Activate button beneath the desired language.
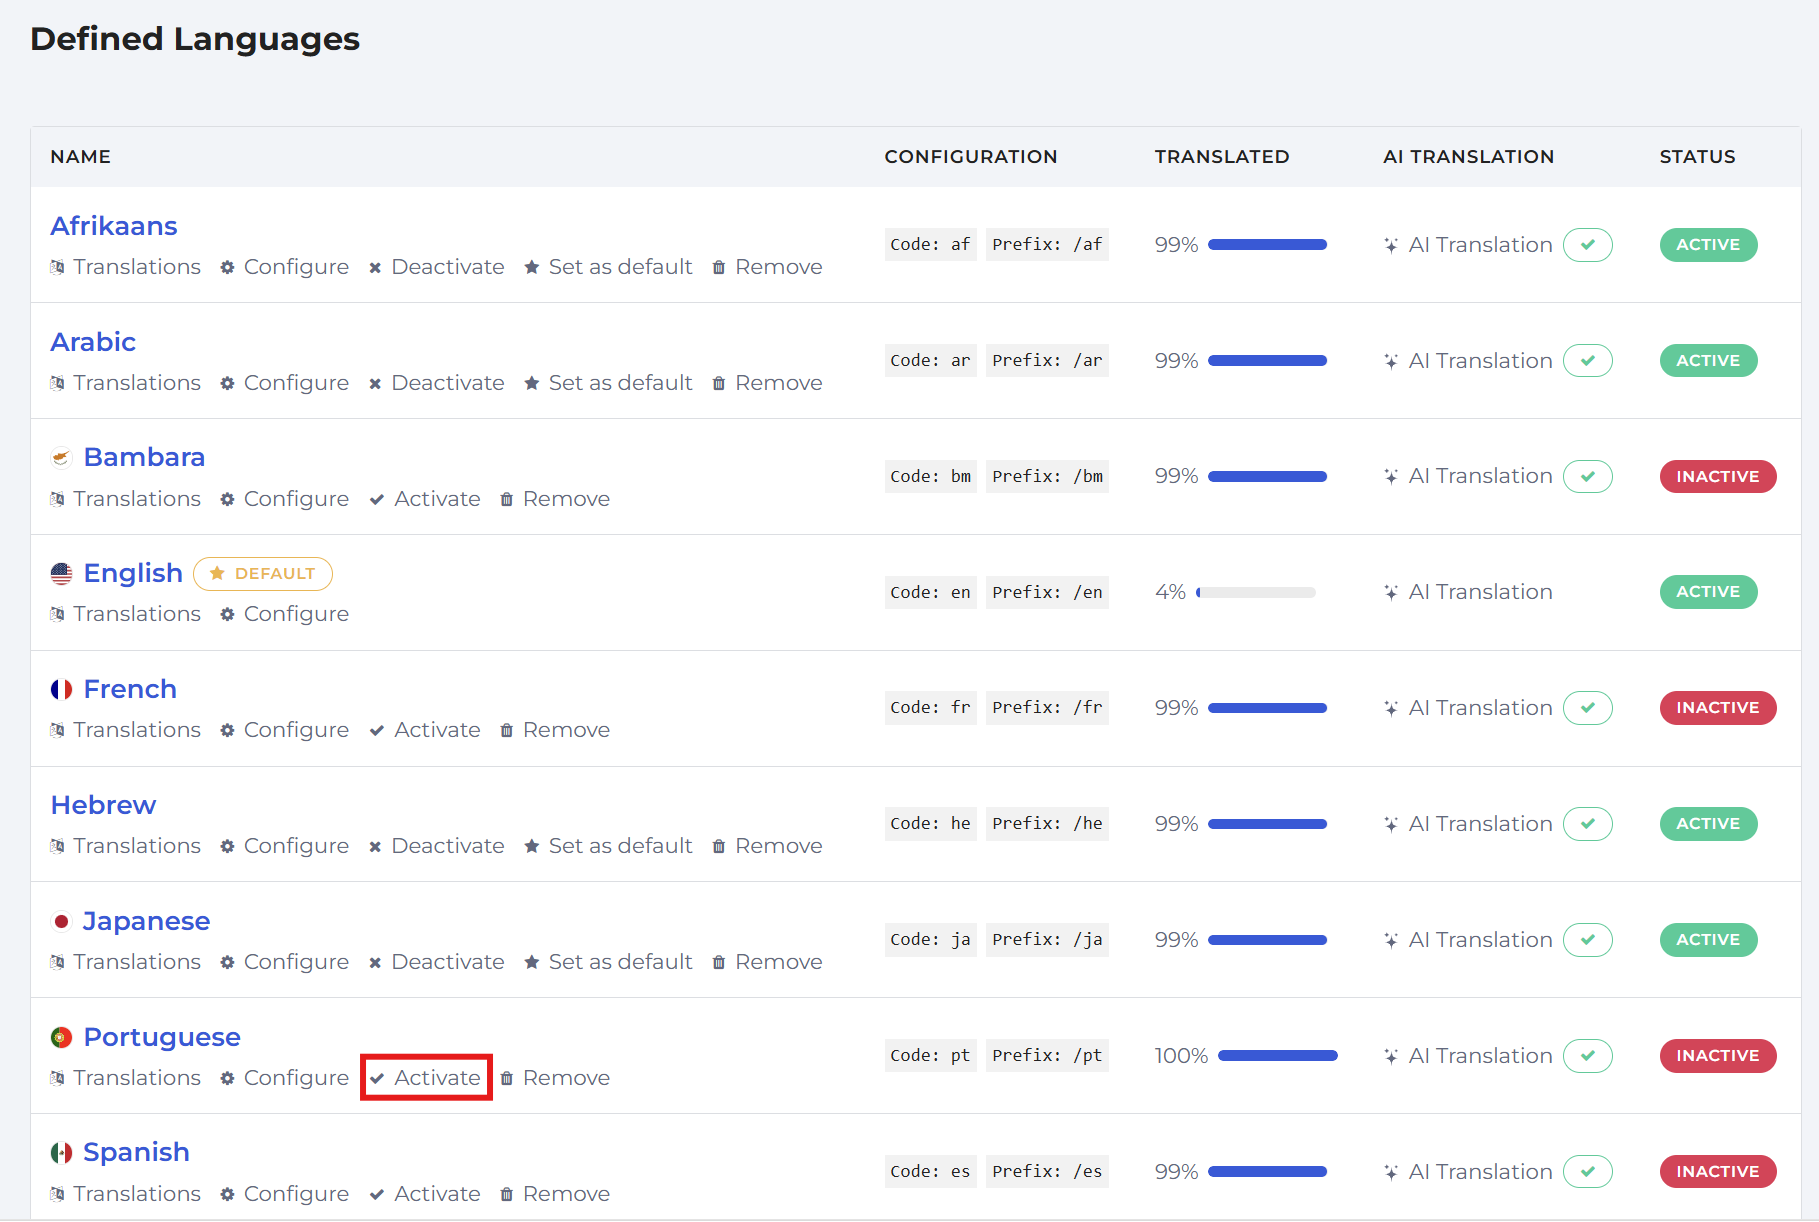
2. Click Confirm on the Activate this language pop-up, and make sure the language now appears as an available option in the language menu on the homepage (see the example language menu below).
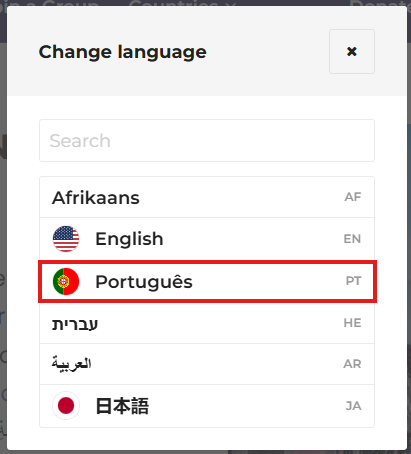 Note: If you notice any translation errors, you can always return to the Translations page to make edits, even after the language has been activated.
You will need to select a default language for your platform. This is the language that all users will see when they first access the platform.
To Set a Default Language:
Go to the Language list page and click the Set as default option underneath the desired language.
